Weaving Activity *Before starting this activity, you will need a cardboard loom set up. Bring the tray to the work area. Invite the child to watch as you demonstrate how to begin weaving. The video below demonstrates how to set up the loom and how to begin weaving.
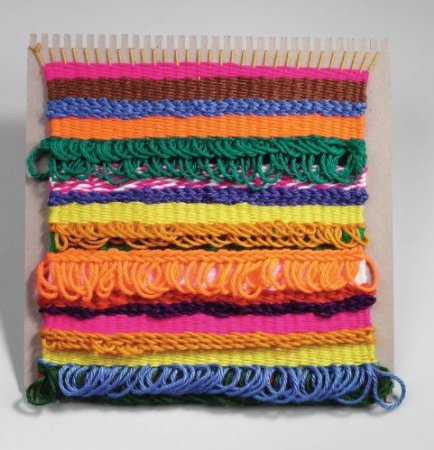
Large plastic needles are perfect for this activity. You will secure the colored yarn to the needle. Knotting the needle will be fine. You can always cut the yarn when you want to switch colors. This makes keeping the yard on much easier. Use the dominant hand to hold the needle and the subdominant hand to help hold the loom in place. Begin to weave in and out of the loom. When you reach the end of the row, you will pull the needle with the subdominant hand while straightening the yarn with the dominant hand. Tie the loose end to the top string on the loom. With the dominant hand weave across the loom in the opposite direction. Use the subdominant hand to control the yarn loop. Lay the loom down and pull yarn gently when you get to the end of the row. Repeat steps until the loom is full. Tie end around the wrap. Tuck in loose ends. The finished product is a weaving mounted on cardboard for a coaster or a wall hanging. If you want to take the weaving off, you will want to cut the beginning strings (the vertical string on the loom). As you weave and tie, the ends should be secure enough for you to do this. If you find that it begins to unravel, then tie the loose ends to the weave. The goal of this activity is to help the child develop a sense of direction (up, down, over, under, top, bottom, right, and left). This activity will help develop eye tracking, hand dominance, and concentration. This activity prepares children for reading and writing. The activity provides a sense of competence at completing a finished project.